You have access to Gobi — what now? This guide walks you through the three steps from getting started to published employee stories on your career page.
Gobi Stories is a Norwegian video platform for employer branding and recruitment. The platform lets companies collect, edit, and publish authentic employee stories as vertical video — without involving IT or a video agency.
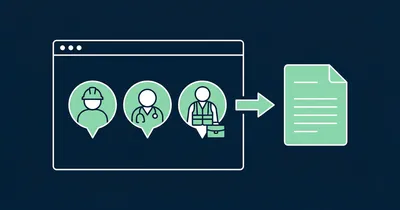
Step 1 – Collect video content with Autopilot
Most teams getting started with Gobi do not have video content ready to go. That is where Autopilot comes in.
Gobi Autopilot is the ordering tool for video content. You choose which employees you want video from, and Gobi handles the rest: email invitations, browser-based recording with a teleprompter, automatic reminders, and consent management. You do not need to follow up manually — the content comes to you.
Here is how to order content:
- Add the names and email addresses of the employees you want video from
- Choose your questions — Gobi comes with a default set of questions that you can use or customise
- Set a deadline and send the invitations
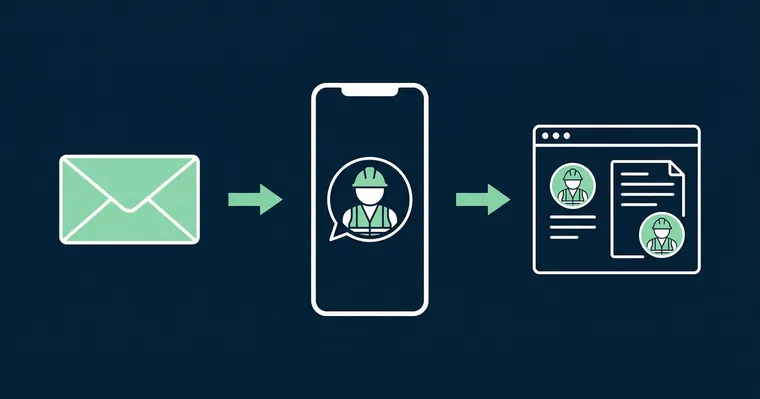
What happens on the employee’s side: they receive a personal email with a unique link. They click through, give consent, and record straight in the browser — the teleprompter shows questions as they go. No app to download, no account to create. Autopilot sends automatic reminders to anyone who has not submitted yet.
Once the content is collected, it lands in Studio — ready for editing and approval.
Example: A department head in healthcare wants to showcase her team’s diversity. She adds five nurses to Autopilot, selects the “What’s the best thing about your job?” template, and sets a deadline five days out. Three of five submit within 72 hours. The other two receive an automatic reminder — and submit the same day. Five employee stories are ready for editing.
Read more about the full Autopilot workflow in our article on Gobi Autopilot.
“We had our first story live on the career page within a day of signing up. I expected it to take much longer.”
Already have video content? If you have vertical video clips in 9:16 format — from a previous shoot, a photographer, or an internal project — you can skip Autopilot and go straight to step 2. Upload the clips directly in Studio.
Step 2 – Edit in Studio
Gobi Studio is where you edit and prepare content — whether it was collected via Autopilot or uploaded yourself.
Here is how to edit a story:
- Open the clip in Studio
- Trim the start and end
- Add automatic subtitles — this increases viewing time by up to 12%
- Add your company branding — logo, colours, and visual identity on the video
- Choose a thumbnail that displays before the story plays
Approve the clip when you are happy with it — the story is now ready to publish.
Gobi works exclusively with vertical video in 9:16 format — the same format as Stories on Instagram and TikTok. That means your clips are optimised for mobile from the start. Want to learn more about recording best practices? See our employee video guide for practical tips.
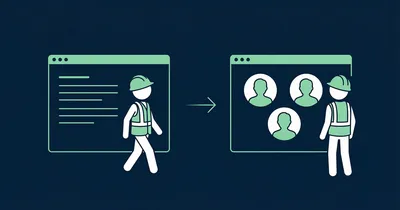
Step 3 – Publish on your website
Once the stories are edited and approved, you add them to your career page or job postings.
- Go to “Add to website” in the Studio menu
- Edit the story bubbles — choose which stories to display and customise the layout
- Copy the code at the bottom of the code field
- Paste it into your career page or job posting
No developer is needed for standard setups. If you use Teamtailor, Jobylon, or Jobbnorge as your recruitment tool, Gobi has native integrations that make it even easier — see all integrations.
Teamtailor is among the most popular integrations — you can add Gobi stories directly inside the Teamtailor interface without touching any HTML.
For a full walkthrough of all publishing options, see the guide to adding Gobi stories to your website.
Frequently asked questions
Do I need a developer to set up Gobi?
No. For standard setups on career pages and job postings, pasting an embed code is all it takes. Gobi also has ready-made integrations with Teamtailor, Jobylon, and Jobbnorge that require no code at all. Advanced setups using the API are available for technical teams.
What is Gobi Autopilot?
Gobi Autopilot is the ordering tool for video content. You add who you want video from, use the default questions or customise them, and send invitations. Employees receive an email, record in the browser with a teleprompter, and submit — without you needing to follow up. The system handles reminders and consent automatically.
Can I use video content I already have?
Yes. If you have vertical video clips in 9:16 format, you can upload them straight to Studio, edit, and publish. You do not need to go through Autopilot unless you want to collect new content from employees.
Which ATS systems does Gobi integrate with?
Gobi has native integrations with Teamtailor, Jobylon, Jobbnorge, and others. For a full list, see the integrations page.
What video format does Gobi use?
Gobi uses exclusively vertical video in 9:16 format — the same format as Stories and Reels on social media. It is optimised for mobile viewing and gives candidates a familiar, modern experience when browsing on their phones.
Three steps — order content, edit in Studio, publish on your website. Not a customer yet? See what Gobi does and find out if it is the right fit for your organisation.